Chopping-up Videos in the Linux Command Line
Published: 10 May 2020
Early last week, Pau sent me some videos from a very early Paufest where we played. He wanted me to chop a couple of them up and post it on Facebook. I suppose it was an acceptance to a challenge made by our classmates who had been posting TikTok videos for everyone's entertainment during this lockdown period.
But this entry isn't really about that. Although it needs to be said that our classmates' TikToks are really so awesome and funny that I had to clean Alexandria's screen a few times after spitting coffee on it. This entry is about how I chop videos up and tweak the audio before finally posting them. It has been a long time since I last posted a how-to anyway.
This entry is a How-To do simple video and audio editing in Ubuntu Linux using a combination of a media player (VLC in this case), FFMpeg, and Audacity. Needless to say, those three applications are required; so, if you don't have them installed:
$ sudo apt install vlc ffmpeg audacity
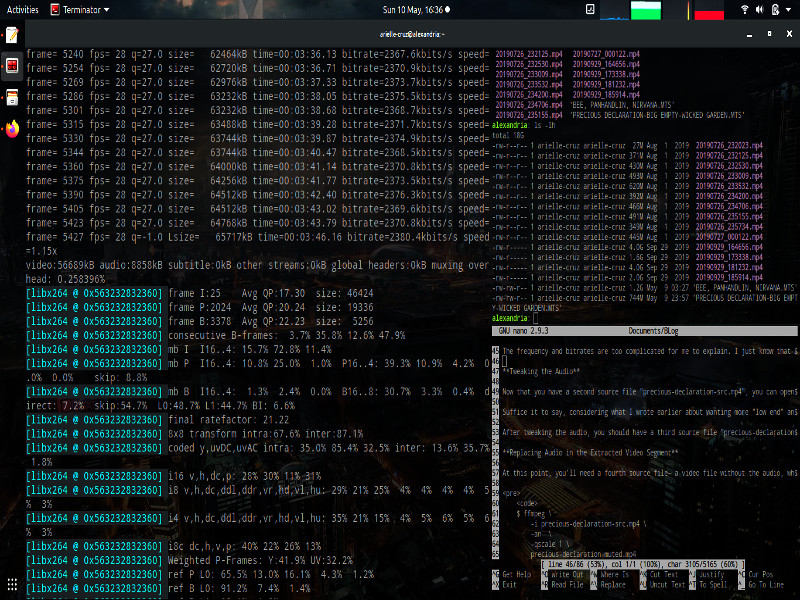
Let's say you have a source audio/video file named "PRECIOUS DECLARATION - BIG EMPTY - WICKED GARDEN.MTS" that shows your band playing Precious Declaration by Collective Soul, and Big Empty and Wicked Garden by the Stone Temple Pilots. And your goal is to split that source video into three separate videos because it's going to be boring if you posted the whole thing; and, because you're OC, you want to add in a bit of low end and some reverb to the audio to get a slightly bigger sound.
The first thing that needs to be done is taking note of the timestamps. This is one of the reasons why we need VLC; because, like most other media players, it allows us to scrub through the media's timeline.
Now, let's say that Precious Declaration starts around 02:32 (minutes:seconds) and lasts for 03:45. To extract that part, we'll use FFMpeg and feed it with the following commands:
Extracting a Segment of a Media File
        $ ffmpeg \
            -i "PRECIOUS DECLARATION - BIG EMPTY - WICKED GARDEN.MTS" \
            -ss 00:02:32 \
            -t 00:03:45  \
            -vf scale=864x480  \
            -b 2048k     \
            -ar 44100    \
            -ab 320k     \
            precious-declaration-src.mp4
Here is an explanation of the command line options:
-i is the path to the input file
-ss is the "start offset", it requires us to use the format (hours:minutes:seconds)
-t is the length of time we want our output file to have (hours:minutes:seconds)
-vf scale is a video scale filter we apply so that our output file will be 864x480 pixels big
-b is the video bitrate
-ar is the audio frequency
-ab is the audio bitrate
precious-declaration-src.mp4 is the path to our output file
The frequency and bitrates are too complicated for me to explain. I just know that 44100 Hertz is what's normally used as the audio sampling frequency; that if you go lower than 2048 kb/s on the video bitrate, a lot of artifacts will start to show up; and that you can probably get away with using 240 kb/s on the audio bitrate but, as I said earlier, I'm OC.
Tweaking the Audio
Now that you have a second source file "precious-declaration-src.mp4", you can open that up in Audacity. Audacity will automatically extract the file's audio for us so we can manipulate its "waveform". I'm not going to go into specifics on the filters that I used for my project because each project will have its own requirements— and you really have to play it by ear every time, no pun intended.
Suffice it to say, considering what I wrote earlier about wanting more "low end" and a "bigger sound", I used a combination of the "Base and Treble" and "Reverb" filters on my own project. Then applied some amplification to boost the audio and compression to balance out the whole thing.
After tweaking the audio, you should have a third source file "precious-declaration-src.mp3" (note that this is MP3, the previous one was an MP4) after exporting the Audacity project to MP3.
Replacing Audio in the Extracted Video Segment
At this point, you'll need a fourth source file— a video file without the audio, which you will later combine with the tweaked MP3 that was exported from Audacity. There is a way to get around this step that uses FFMpeg's -c and -map options but I'm not familiar with them so I didn't use that method. To create a muted copy of the second source file:
        $ ffmpeg \
            -i precious-declaration-src.mp4 \
            -an  \
            -qscale 1 \
            precious-declaration-muted.mp4
The -an option means that the output file will have audio disabled while the -qscale is short of "scale quality" where we put a value of 1, which means the output video should have the same quality as the source video.
To create the final media file:
        $ ffmpeg \
            -i precious-declaration-muted.mp4  \
            -i precious-declaration-src.mp3    \
            -b 2048k   \
            -ar 44100  \
            -ab 320k   \
            precious-declaration-final.mp4
Preview precious-declaration-final.mp4 by opening it up in VLC.